*This article was originally created by psyloki. All the photos and content are authorized by psyloki. Many thanks to him for sharing such great content and stunning pictures with us!
Halogens Stock Light vs OEM LEDs
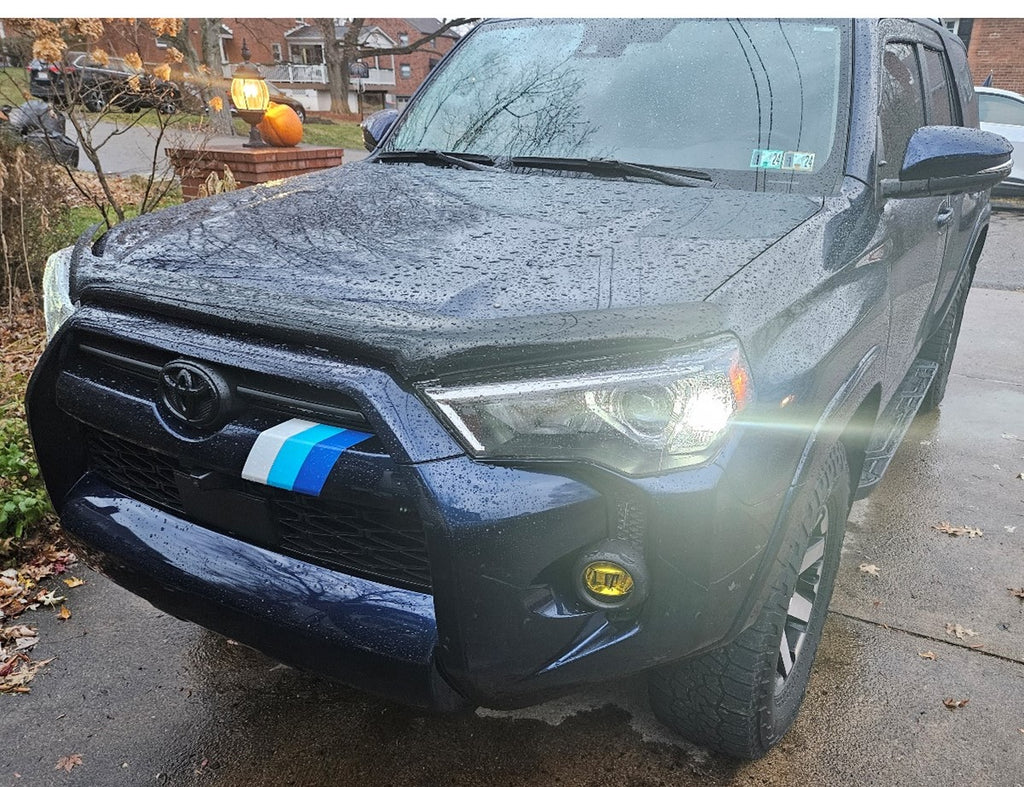
After several months of shopping, researching, and calling dealerships, I purchased a 2022 Toyota 4Runner SR5 Premium from my local dealership. Since then, Lasfit™ has been on a mission to replace the dated halogen bulbs with Lasfit LEDs. The vehicle came with wonderful OEM LED headlights which in comparison, made the halogens look out of place and mismatched. I wanted the cleaner and brighter light that LEDs could offer.
Struggle with Hyperflashing
I struggled with the decision to replace the OEM halogen bulbs on my Toyora 4Runner turn signals as I have heard about issues that arise due to the design of the circuit and the possible negative interaction with the relay causing what many people know as hyperflashing. This is what most of the product offerings on the market unfortunately result in. The fix is to cut the wiring harness and add an inline resistor. There was no chance I was going to do this with a new 5th gen Toyota 4Runner. Having had a long history of modifying vehicles and making mistakes, I learned that cutting the wiring harness was the first step to reduced reliability and it increases the possibility of electrical issues down the road. The bulbs must fit in the OEM socket and headlight fixture with no modification to the housing. Last but certainly not least, the longevity must be better than an OEM halogen. Although LEDs last longer than halogens in controlled testing environments, anyone who has done some experimenting with cheap LED chipsets knows that the connections on the printed circuits are more likely to cause failure than the degradation of the diode.
My Story With Lasfit T3 Series Light Bulbs
After expressing my expectations and needs to the customer service department at Lasfit, their employee, Hank, assured me that they had a new product that mitigated these risks and performed above expectations. Hank was very helpful, knowledgeable, and understood my requirements. The recommendations were for the T3 series 7443 bulbs, amber for the rear and switchback amber/white for the front. (SKU#: T3-7443A and T3-7443D).
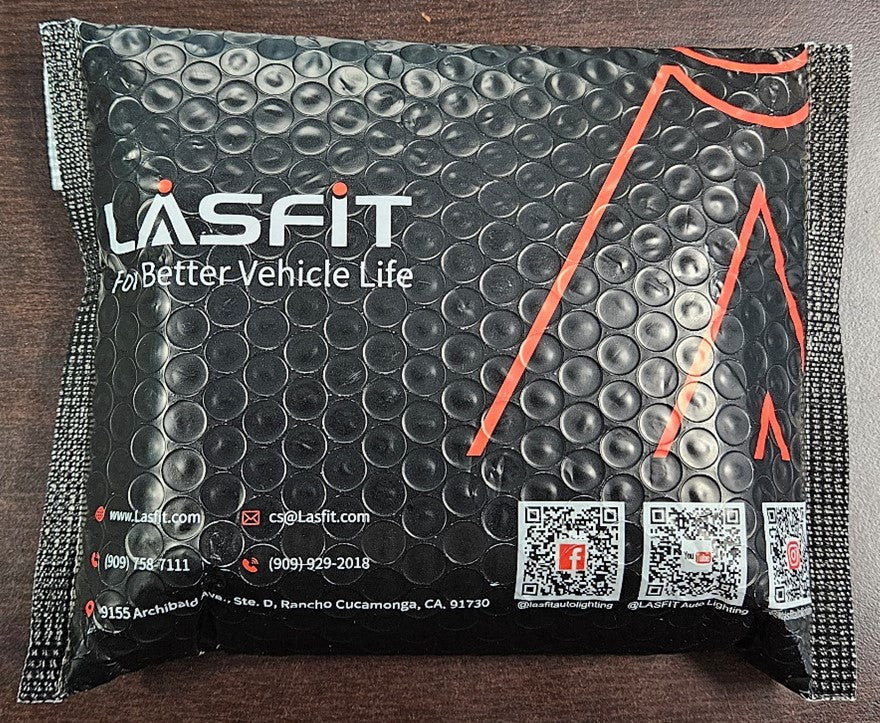
I ordered the recommended bulbs for the front and rear on a Tuesday. They shipped on Wednesday, and I received them on Monday, a couple days earlier than I was expecting them to arrive. One business day for order processing and three business days to ship from Southern California to Pittsburgh via USPS. This is a great turnaround for fulfillment and delivery cycle times for consumer goods in the e-commerce industry. The package itself was delivered intact and was contained in a nice, branded bubble wrap mailer. I like seeing companies that promote their brand through leveraging their digital assets, smart and easy marketing.
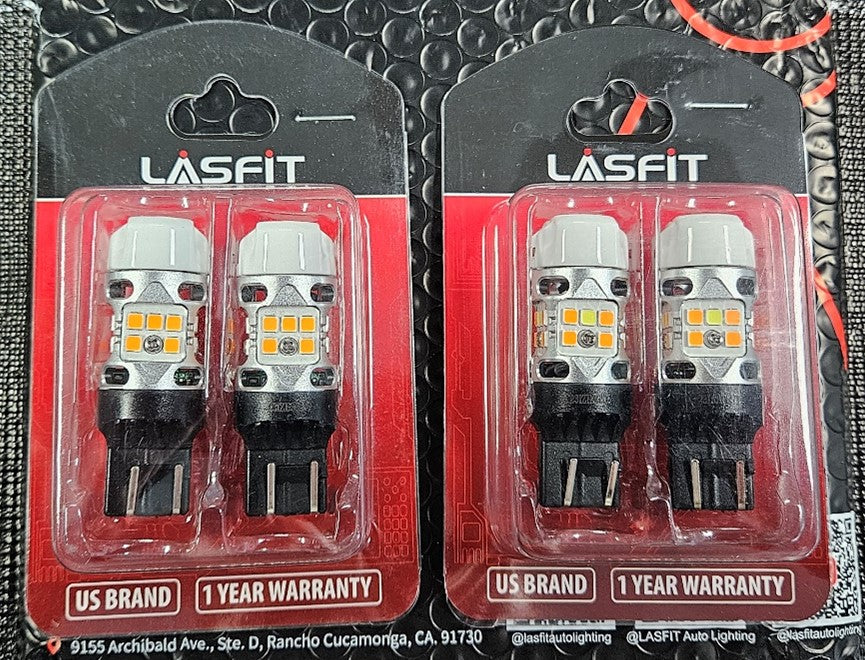
Upon opening the package, I noticed the bulbs were in good condition and there were no signs of damage during shipping. The bulb SKUs matched what I had ordered which is something I always check. The bulbs themselves have a good weight to the touch and show good initial quality based on appearance. The newer model has a white cap on top, whereas the older version has a gold-colored crown.
Installation DirectionsTools Required: 10mm Deep Socket and Rachet; Trim Removal Tools, Bulb Grease, String
Front Turn Signals:
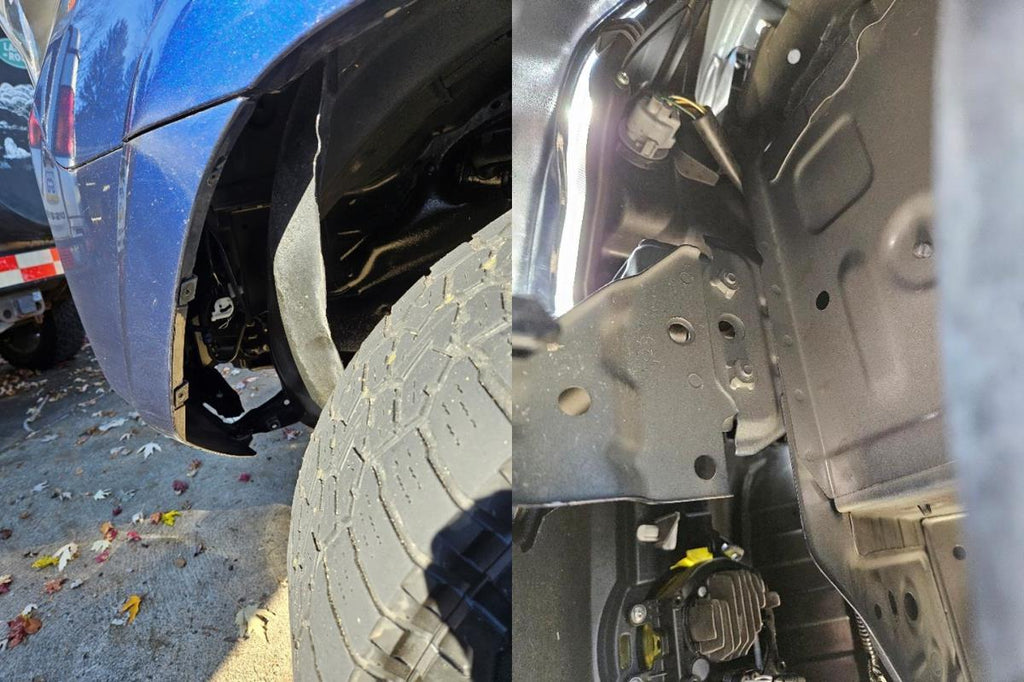
1. Turn Wheel completely to lock to allow for room to work.
2. Remove 4 10mm bolts that secure the bottom of the fender liner. There will be 3 on the wheel arch and 1 on the bottom of the fender. Depending on the modifications and your experience, you may need to remove more bolts to get the fender liner to release. Remember the order the bolts are removed. There are a few different types of fasteners used.
3. Using the trim tools, pry the fender liner out from the fender and secure it back with a small bungee cord or string.
4. Remove the turn signal socket by rotating it left then pulling straight back out of the headlight housing. You will have to reach way up into the fender well to get access to this bulb.
5. Remove the OEM bulb from the socket by pulling it straight out. This is a friction fit bulb and does not require any other method to remove it.
6. Apply a small amount of bulb grease to the electrical connections on the new bulbs.
7. Press the new bulb into the socket.
8. Turn on the hazard lights and test for polarity. If it lights up, then it passes. If it does not light up, turn off the hazard lights, remove the LED bulb, rotate 180 degrees, and reinstall. Then turn on the hazard lights and retest for polarity.
9. Once the new LED bulb is operational, grasp the socket and reinsert into the headlight housing then turn the socket right until it is fully seated.
10. Reinstall and align the fender liner as it was before removal.
11. Reinstall 4 10mm bolts.
12. Repeat for opposite side.
Rear Turn Signals:
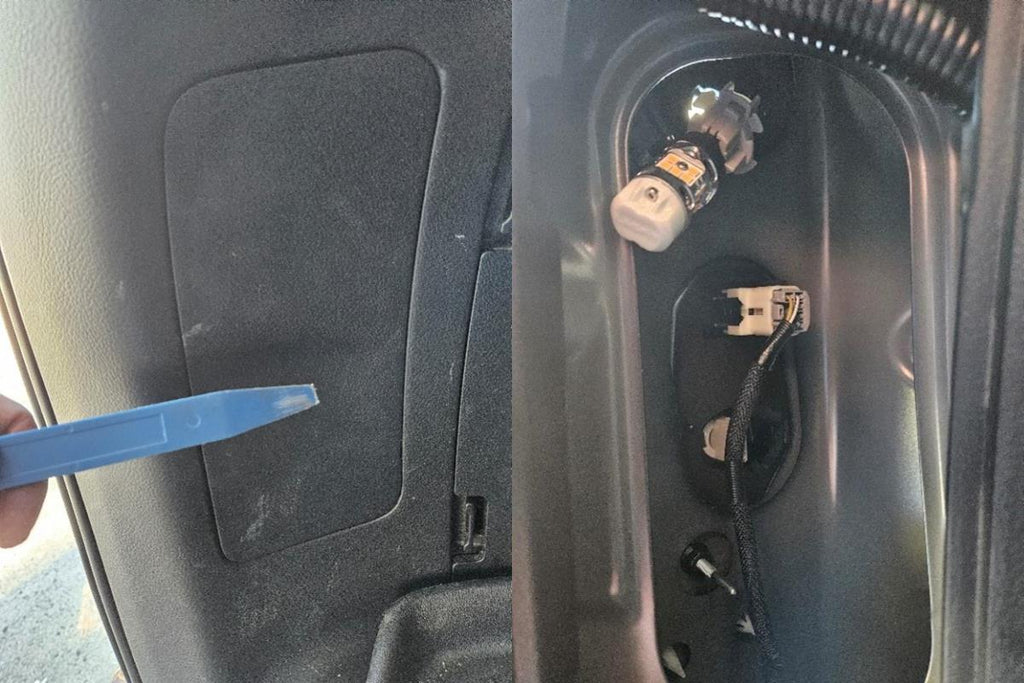
1. Open the rear hatch and locate the access panel directly behind the taillight.
2. Using the trim tools, pry the access panel off.
3. Remove all three of the sockets and/or electrical connectors that attach to the taillight.
4. Remove 2 10mm bolts holding the taillight to the body.
5. Using the trim tool, pop the headlight from the friction fit guides and remove from body.
6. Remove the turn signal bulb from the socket by pulling straight back. This is a friction fit bulb and does not require any other method to remove it.
7. Apply a small amount of bulb grease to the electrical connections on the new bulbs.
8. Press the new bulb into the socket.
9. Turn on the hazard lights and test for polarity. If it lights up, then it passes. If it does not light up, turn off the hazard lights, remove the LED bulb, rotate 180 degrees, and reinstall. Then turn on the hazard lights and retest for polarity.
10. Once the new LED bulb is operational, reinstall the taillight by aligning the fit guides and pressing the headlight into the body until it pops into place. It should be snug.
11. Reinstall 2 10mm bolts. Reinstall 3 of the sockets and/or electrical connectors.
12. Reinstall access panel by aligning it then pressing it into place.
13. Repeat for opposite side.
Note: Some vehicles will have enough slack in the wiring harness to do the bulb change without removing the taillight. Overstretching the harness should be avoided so the safest route is to remove the taillight and insert the new bulb with socket then reinstall the taillight.
Comparison and Conclusion:
The whole installation process for front and rear took me about 40 minutes to do all 4 bulbs. It was straight forward and I ran into no problems during the install. I worked in a deliberate and careful manner. Your experience may vary depending on skill level and speed.
The bulbs required no resistors or cutting of the harness. Even though they are significantly longer than the OEM halogen bulbs, they fit into the socket and housing with no troubles. Both of these points make for a simplified and straightforward installation process. In addition, there were no error codes shown by the CANBUS protocol when I plugged in my OBD2 reader.
Before & After
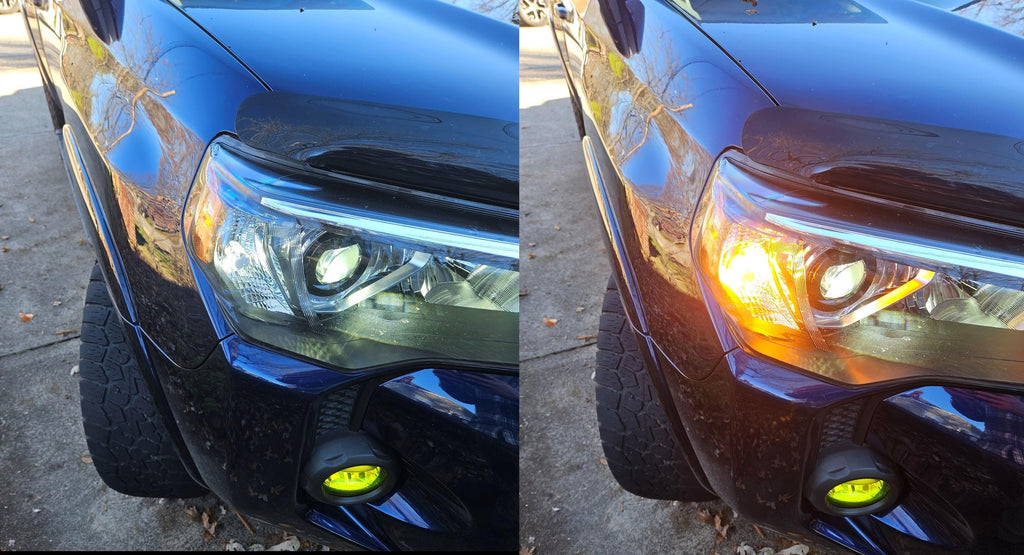
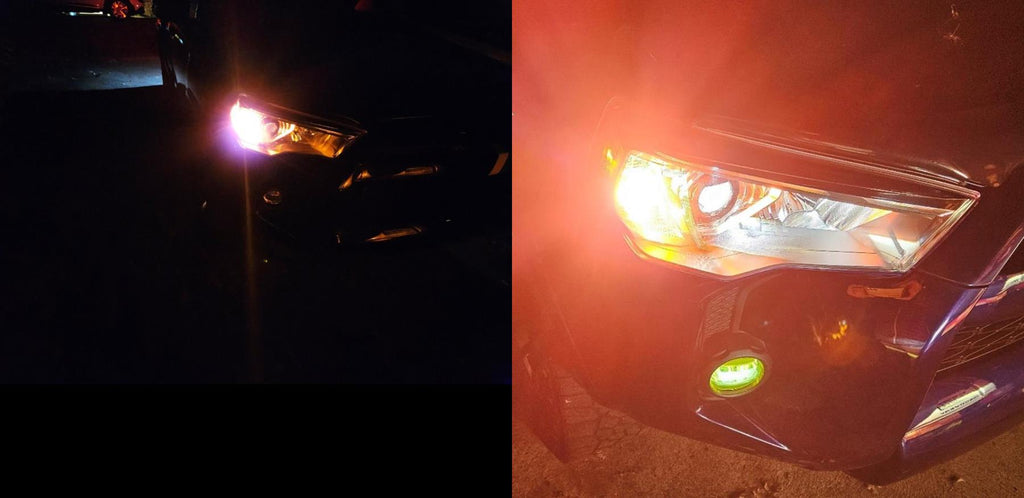
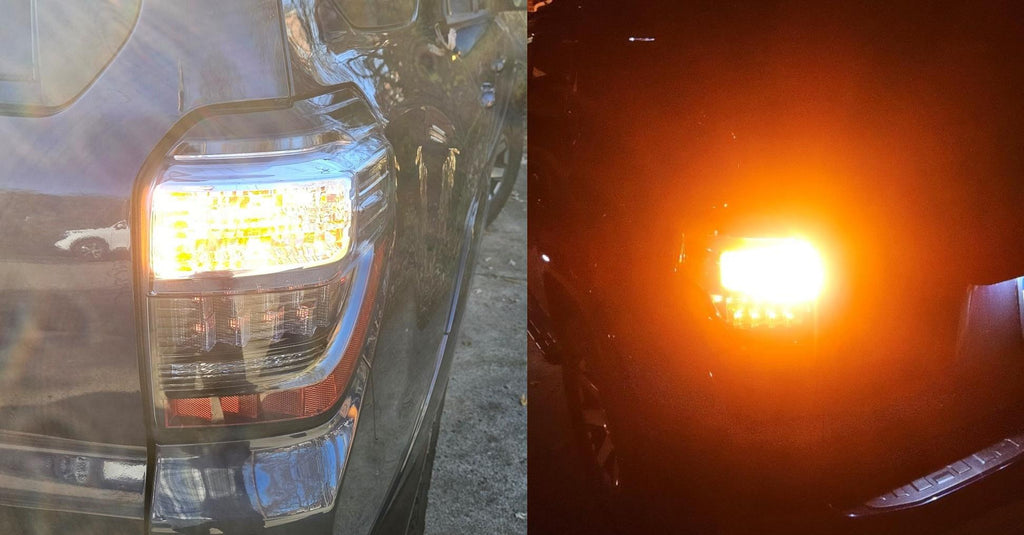
After installing the Lasfit 7443 LED bulbs, my first impressions were positive. They projected more light than the OEM Halogens. The front side marker light gave a solid light pattern with no flickering that matched my OEM LED headlights and LED DRL conversion perfectly. Now all three of my headlight based forward lights match which is excellent. I would assume all three are 5000k color temperature or close to it. The front turn signal lights have 20 LED chipsets that are divided as 4 in white and 16 in amber. When the turn signal or hazard lights are activated, the remaining 16 amber LED chipsets light up. This produces a very bright turn signal. The rear turn signals are 20 LED chipsets that are all amber in color. The rear turn signal was exceptionally bright. I can easily see both the front and rear turn signal lights on the ground from inside the vehicle. This was not the case with the OEM halogens. When comparing the light output, the OEM halogen bulbs are usually between 400-440 lumens and the upgraded LASFIT 7443 LED bulbs are 2000 lumens. This is a significant improvement by any measure.
After the initial impression, I tested the lights by turning on all exterior lighting options and activating the hazards to test for heat soak induced hyperflash. After about 10 minutes of run time, I could tell the system in place was modifying the frequency timing to maintain an even light duration. This was a strong positive to see the systems designed to prevent hyperflash working in real time.
After two weeks of standard usage, I am pleased to say that every aspect has worked flawlessly. I would not hesitate to recommend this product to any enthusiast that desires to upgrade their OEM lighting to LED. I am satisfied by the quality of the product, the ease of installation, and the excellent service during my purchase. This is a quality product that has exceeded my expectations.
Links below:
Front Switchback
7443 7444 Switchback CanBus LED Bulbs Front Turn Signal Lights
Rear Amber
7443 7440 7444 7442 Amber CanBus LED Bulbs Turn Signal Lights

4 comments
There’s a reason why you can’t leave reviews.
Good luck with customer service and getting any help and information regarding my order.
They ask so many questions.
I gave them my order # and im trying to track it.
Its stuck or just arrived at post office when trying to track my order…
Its obviously stuck in limbo.
One of my front led bulbs went out and im driving cross county in a few days.
No overnight shipments available even on my dime!
I need my headlights.
They did not last long at all.
I hardly drive my truck, has only 10k miles and bulbs were installed at 5.5 k
I will cancel my order if not here on time.
This company obviously has internal issues with not being able to get my.order thats has been paid up front and not getting sufficient information?
Most likely coming from CHINA or who knows where and i could care less i just want what I paid for.
I wont be buying here in the future and will most likely return this item if it doesnt arrive in time and will be hitting the road with ONLY 1 HEADLIGHT.
THANKS LASFIT
placed the H11 LA AIR LAS FIT LOW BEAM on my 2024 Colorado Trail Boss and I have slight very minor flickering (hard to even notice) has anyone else experienced this with the LAS FIT H8,9,11 6000k low beams (for the 2024 trail boss)? I FITTED the whole truck with LAS FIT LED in and out and the only minor flickering is with the low beams listed
I LOVE LASFIT!
I love customer Service because they are there to update you since the very beginning! I also appreciate how fast they answer so many questions I have asked them. I stubbled across an unfortunate situation that was not even Lasfit’s fault and still decided to go the extra mile to help me out with the issue! I have and I will keep recommending every person that asks me for led reconditions because I will proudly tell them to pick LASFIT!