*This article was originally created by Prit. All the photos and content are authorized by Prit. Many thanks to him for sharing such great content and stunning pictures with us!
I’ve had my 2013 TSX for about 10 years and was looking to make some upgrades to the interior lighting, specifically the map dome lights and courtesy lights/door lights. While the stock bulbs in the car work, they are dull, yellow, & do not offer that much light output. I was really just looking for something that was brighter and more modern. My thought was LED's could offer the best of both.
First Impressions of Lasfit LED Bulbs
After specifying the bulb types I needed, Lasfit customer service(Hank) helped provide the Lasfit equivalents for the map dome lights (Bulb type: DE3175, SKU: L-31MM) & courtesy lights (Bulb type: T10/194/168, SKU: v white color) and i was able to place an order. I received the bulbs within 2 days, which was pretty fast.
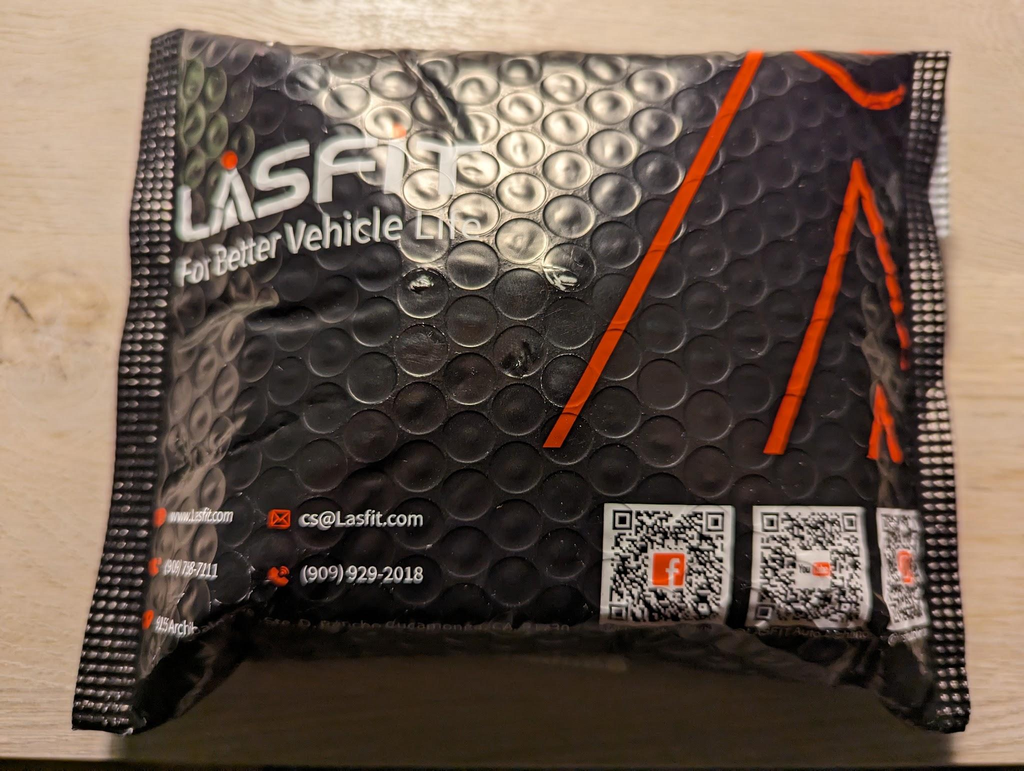
Pictures below show how the bulbs arrived inside the packaging. The overall packaging was good and the bulbs were secure inside their packaging.

Outside Packaging
 Packaging
My initial impressions of the bulbs were that they were of good quality & well constructed.
Installation instructions of the courtesy/door & map dome lights
For the Acura TSX, there are a total of 4 courtesy/door lights and the installation process was the same for all 4 doors. No tooling was required for this installation.
1. To remove, push the lens cover up and then pull towards you and the cover will come off.
 Door Light(stock bulb – Front passenger side door) & Door Cover Len
2. Use gloves, if needed, to pull the stock bulb from the assembly as it may be hot
3. Insert the LED bulb straight into the assembly, with the circular portion facing towards you.
4. Once confirmed the bulb lights up, install the lens cover back on starting with the top tabs(green arrow in image above), push it in, and then push the bottom tabs in(red arrow in image above).

Re-installation of door light lens(top tabs first) & Door light w/ LED bulb installed
5. Repeat steps for all other doors.
Map Dome Lights
There are a total three(3) map dome lights, two in the front, one in the rear. A flat head screwdriver was used for the installation, specifically to remove the lens cover and aid in removing the bulb from the contact points(if you can’t remove the bulb by hand).
Front Map Dome Lights
- Insert a flat head screwdriver on the inner side of the lens cover(shown by red arrow for both driver & passenger lens covers) and gently pull down towards you. Remove the lens cover.

Removing lens cover(passenger side)
- Use gloves to remove the bulb as it may be hot. Alternatively, use a screwdriver to aid in removing the bulb off the contact points
- Insert the LED bulb into the assembly with the LED light facing you until it is firmly in place. For this LED bulb, there is no polarity so it can be inserted in either direction.

Map Dome Light with LED Bulb
- Install the lens cover by pushing it straight up.
Rear Map Dome Light
- Similar to the front lens cover, insert a flat head screwdriver to the side of the lens cover and pull towards you, as shown. Remove the lens cover.

Removing lens cover
- Remove the stock bulb from the contact points.
- Insert LED bulb into assembly with LED’s facing you. Re-install the lens cover by pushing it straight up

Map dome light with LED bulb
Before/After Comparison
The images below show the car with the stock bulbs and after installation of the T-10 and L-31MM Lasfit LED bulbs.
Courtesy/door light

LED bulbs (front) vs stock bulb(rear)Stock bulb vs LED bulb (passenger door)

Stock bulb vs LED bulb (passenger door)
The LED bulbs illuminated the ground much more than stock bulbs
Front Map Dome Lights

Stock bulb vs LED bulb

Before & after
Rear Map Dome Lig

Before & after
Overall Interior Lighting

Before(stock halogen bulbs)

After(LED bulbs)
The LED bulbs projected more light then the stock halogen bulbs and the difference is very noticeable
Stock Halogen Bulb & Lasfit LED bulb comparison

L31MM/DE3175(L) & T10/194(R)
The Lasfit L-31mm was slightly wider & the Lasfit T10 were slightly longer than the respective stock bulbs, however no issue with installation or fitment.
Review & Final ThoughtsThe installation process was fast(took about 10-15 minutes to replace all the bulbs) & straightforward with minimal tooling required. After installing all the bulbs, my initial thoughts were positive & I was satisfied with the light output that the LED bulbs offered over the stock halogen counterparts. The improvement in brightness is night and day. This definitely met my expectations in terms of what I was looking for with the switch to LEDs.
The verdict is still out and only time will tell on the longevity of the product(s) and performance(over time), but the LasFit LED bulbs are a great option & I would recommend it for anyone looking to upgrade their factory stock halogen bulbs for a brighter alternative.
Also shoutout to Lasfit customer service, Hank. He was very helpful & responsive throughout the whole process addressing questions, providing support & providing speedy delivery of the product.
💭Questions or Comments? Leave them below!

