In a previous blog, we covered how to replace your vehicle’s headlight assembly. But did you know that right next to your headlight assembly sits another important light—the front turn signal bulb?
If your turn signals are dim, broken, or simply need an upgrade to LED, this blog will walk you through how to replace front turn signal bulbs step by step. Whether you’re using 7443, 3157, 1157, or other common bulb types, Lasfit has your back.
5 Quick Steps to Replace Your Front Turn Signal Lights
Step 1: Access the Turn Signal Bulb Housing
Before replacing your front turn signal bulb, you’ll need to locate and access the area where the bulb is installed. Here are three common methods:

Method 1: From the engine bay
Open the hood and reach down behind the headlight assembly to access the turn signal socket. This is the easiest and quickest method for most vehicles.

Method 2: Through the fender liner
Reach in from the area near the front tire and fender. Use a screwdriver to remove the screws holding the fender liner in place, giving you enough space to access the back of the front turn signal light.

Method 3: Remove the headlight assembly
In some vehicles, especially those with tight engine bays, you may choose to remove the entire headlight assembly for easier access to the turn signal bulb. This method is more time-consuming and labor-intensive, and is typically only recommended if you're also planning to upgrade your OEM halogen headlights to LED.
Step 2: Remove the Halogen Bulb
Once you’ve accessed the bulb socket, remove the factory halogen bulb. The removal method varies by bulb type:


Step 3: Install the LED Turn Signal Bulb
Next, install your new LED turn signal bulb:

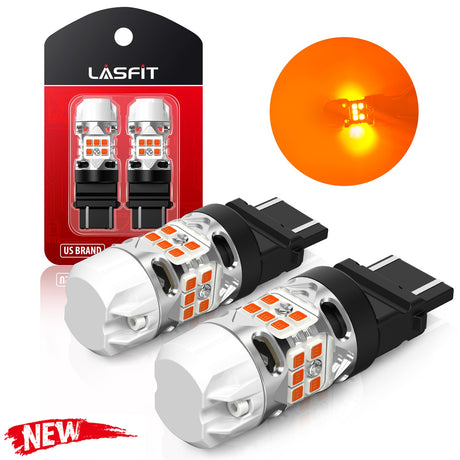
Flat base (7443, 3157, 4257):
Simply push the LED bulb straight into the socket.

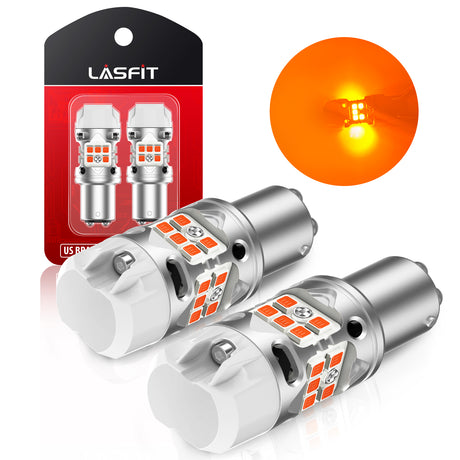
Round base (1156, 1157, PY21W):
Insert and twist until it locks securely. Also, make sure the locking tabs are properly aligned with the grooves for a smooth removal.
Step 4: Test the LED Bulb
Before final assembly, test your turn signal:

- If the LED bulb lights up, you’re good to go.
- If it doesn’t light up, try reversing the plug (flip it 180°).
- Still not working? Contact Lasfit customer service, and we’ll help troubleshoot quickly.
Step 5: Reinsert the Bulb Assembly

Once the LED is confirmed to be working, reinsert the bulb back into the housing securely. Make sure it clicks or locks into place to avoid water or dust entering the housing.
Installation Tips and Warnings
-
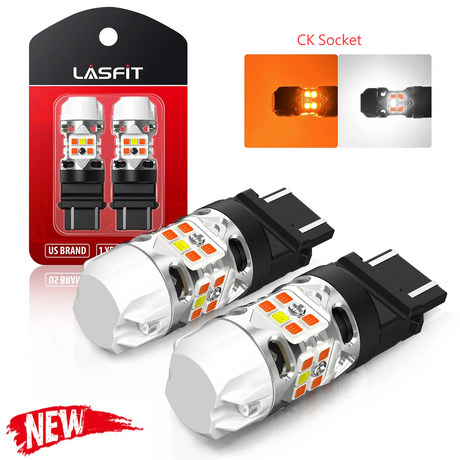
Check for CK Socket Compatibility:
If you're upgrading to LED front turn signal, be sure to check whether your vehicle uses an OEM CK socket. Vehicles with CK wiring require CK-compatible LED bulbs due to the different pin layout and polarity. Installing non-CK bulbs in a CK socket may result in malfunction. You can search your vehicle’s compatibility using the Lasfit search bar to see if CK-type LED turn signal bulbs are required. -
Wear Gloves During Installation:
We recommend wearing gloves when handling and installing LED bulbs. This prevents oils from your skin from transferring to the bulb surface and ensures a clean, secure installation.