For many 2016–2020 Dodge Durango owners, the factory halogen headlights simply don’t provide enough visibility for confident nighttime driving. Upgrading to LED headlight bulbs offers a dramatic improvement in brightness, clarity, and road coverage—helping enhance both safety and driving comfort after dark. In this guide, we’ll walk you through the step-by-step process of replacing the headlight bulbs on your Durango.
Step-by-Step Installation Guide
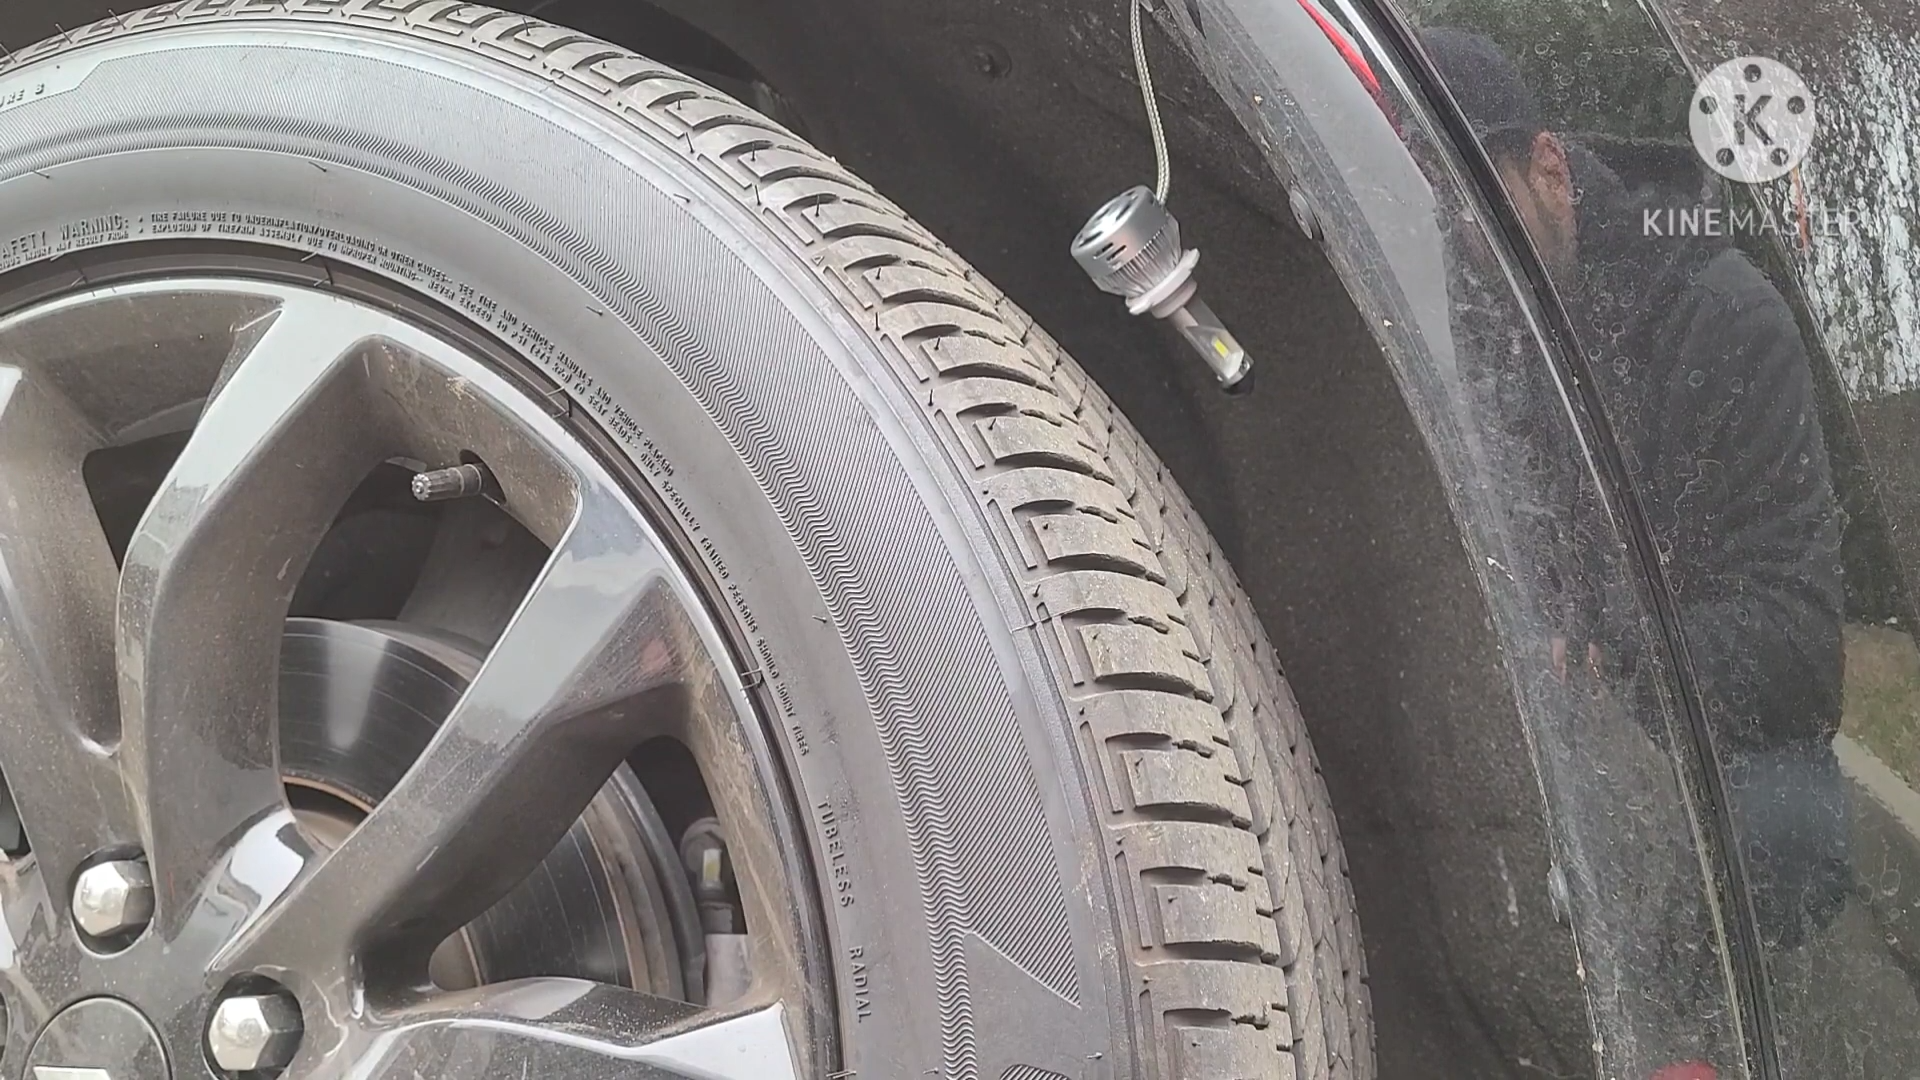
Step 1:Go to the passenger-side wheel well. Above the tire, you’ll find an access cap that allows you to reach the headlight dust cover. Twist the cap to remove it, and you’ll see the headlight bulb dust cover inside.

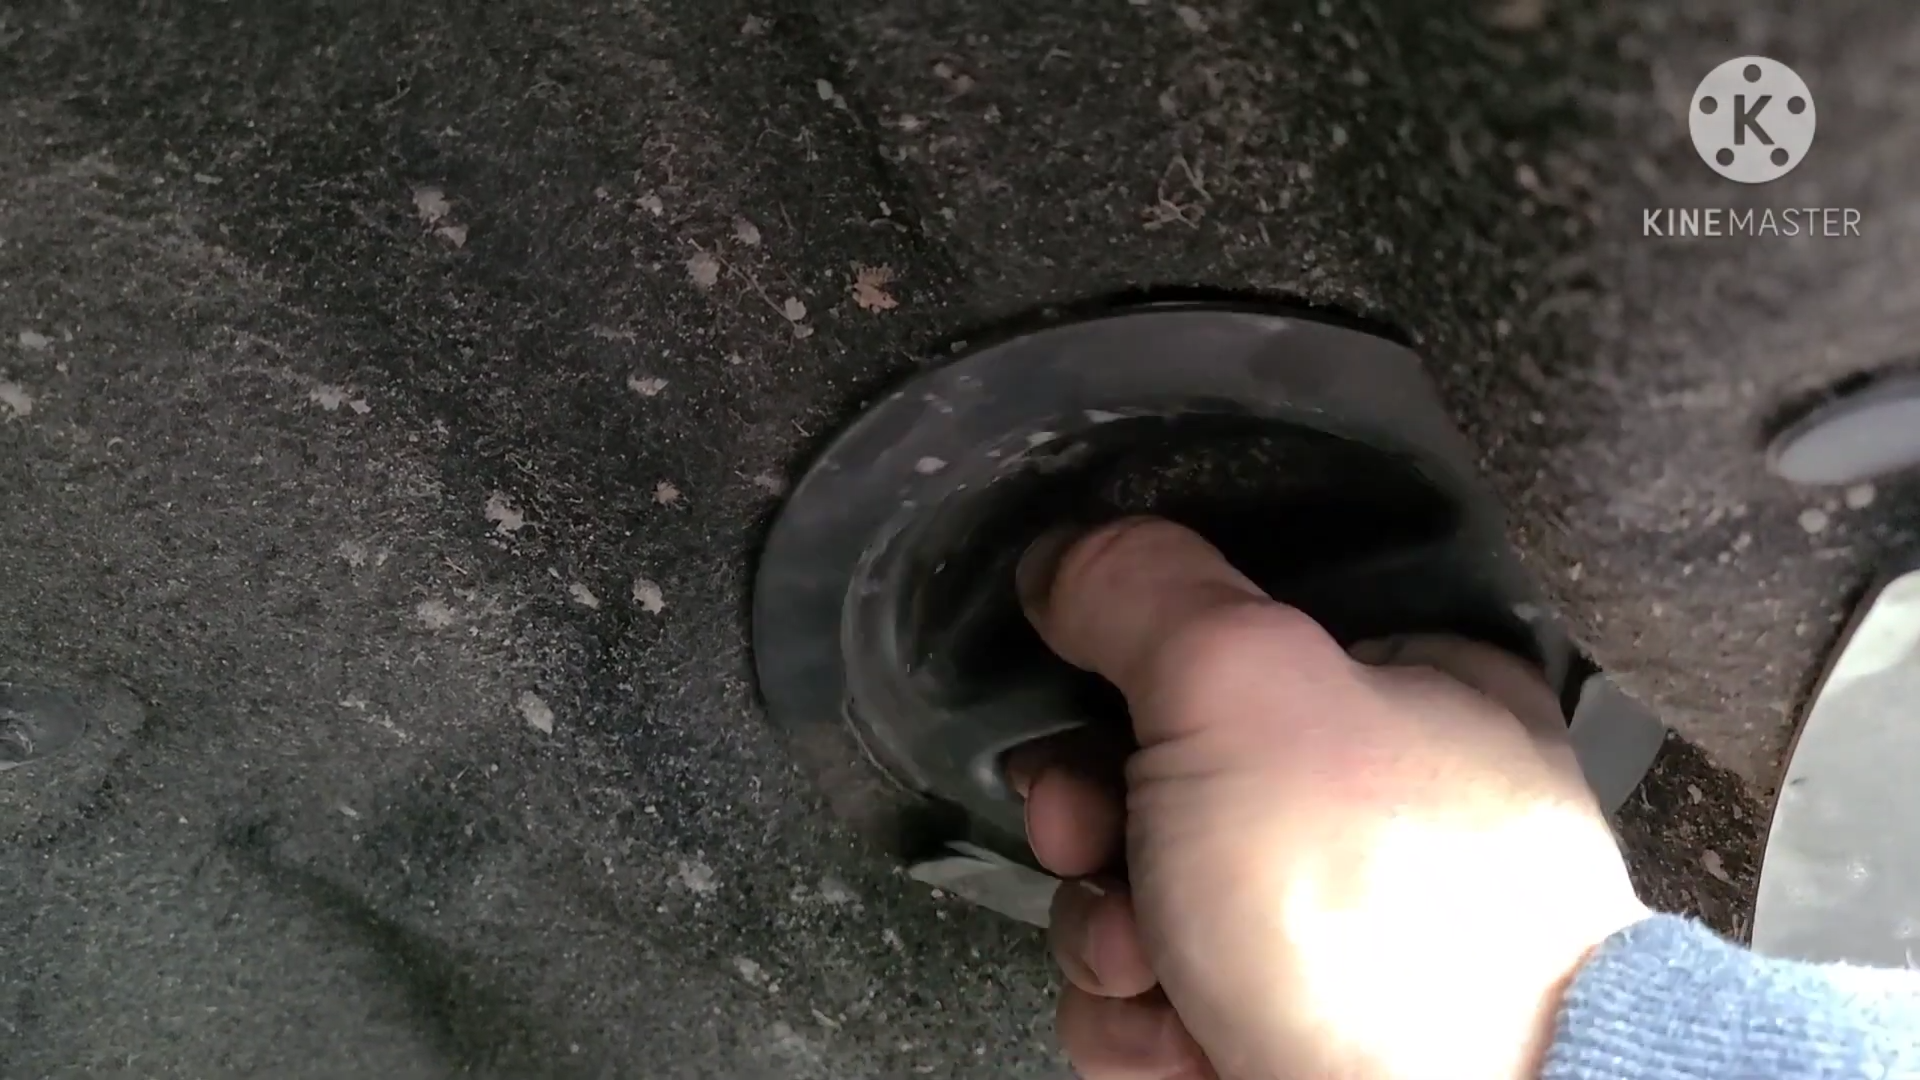
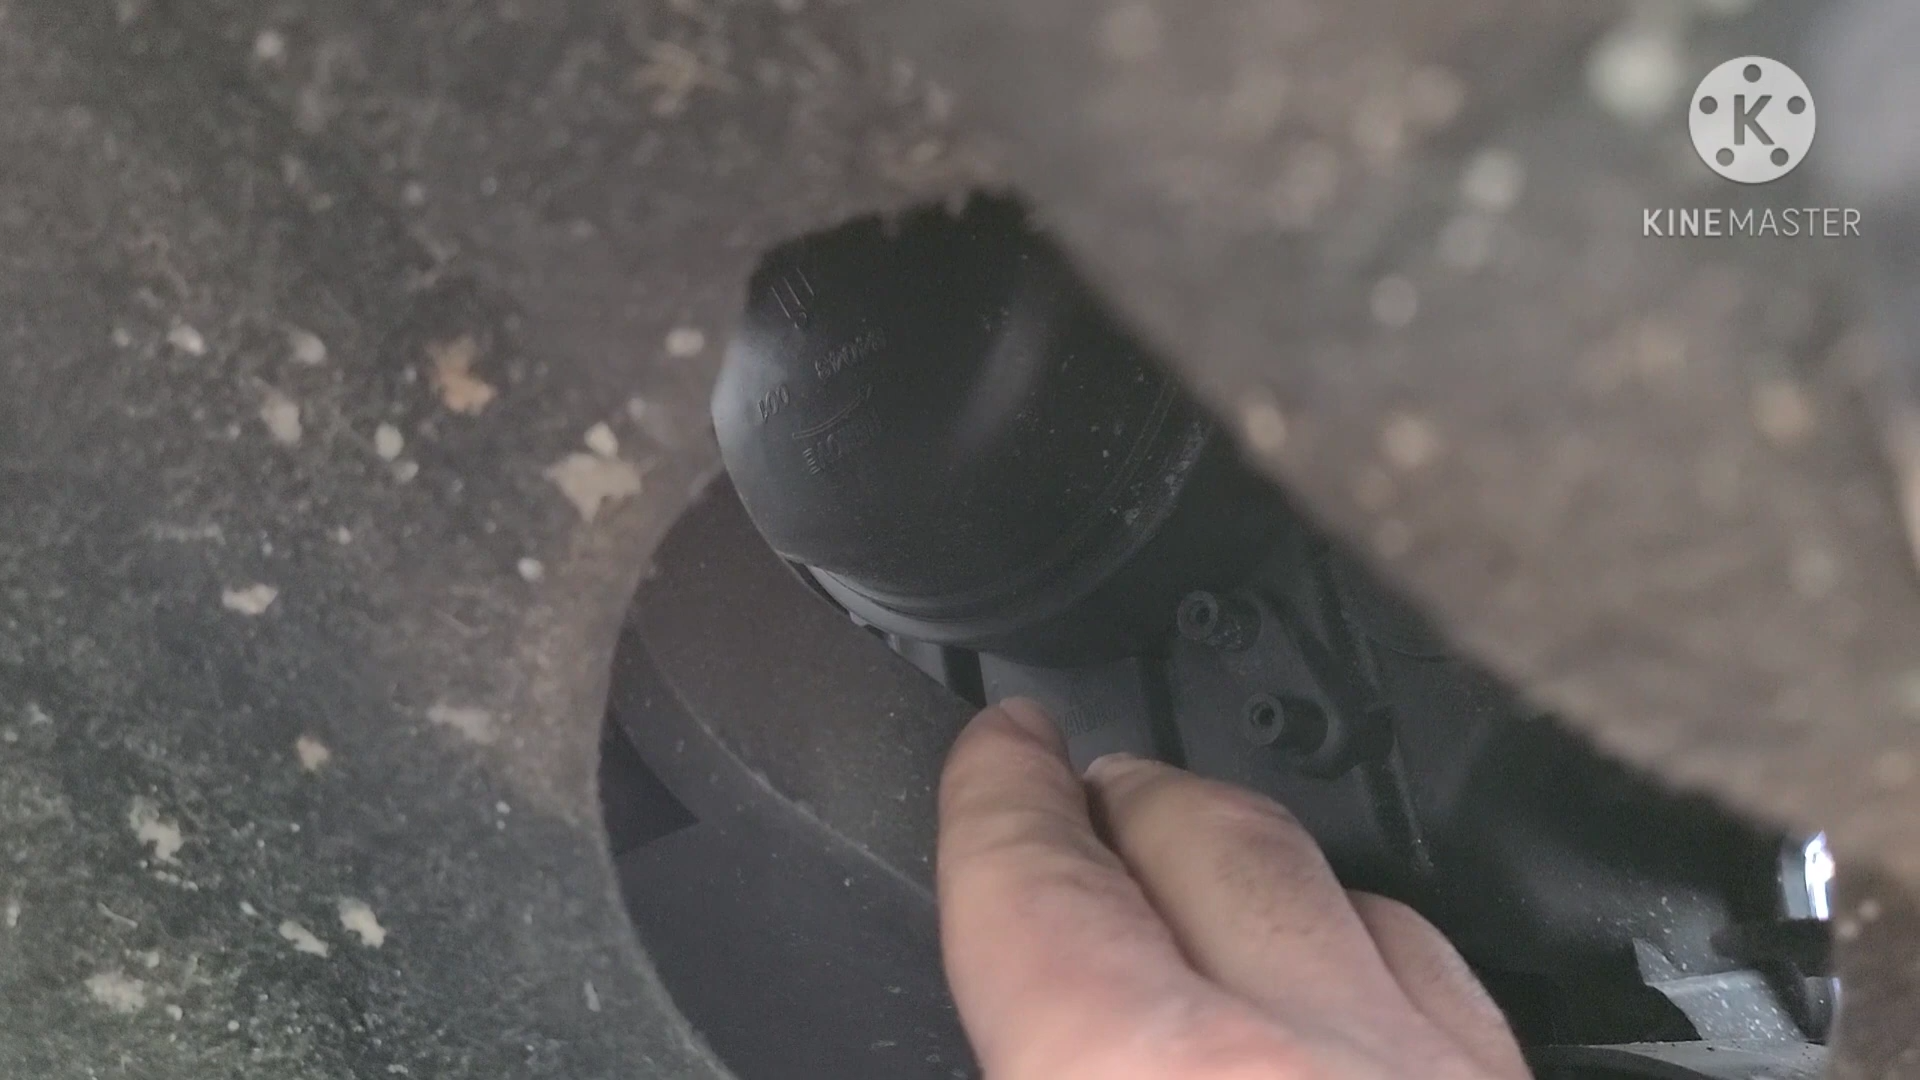
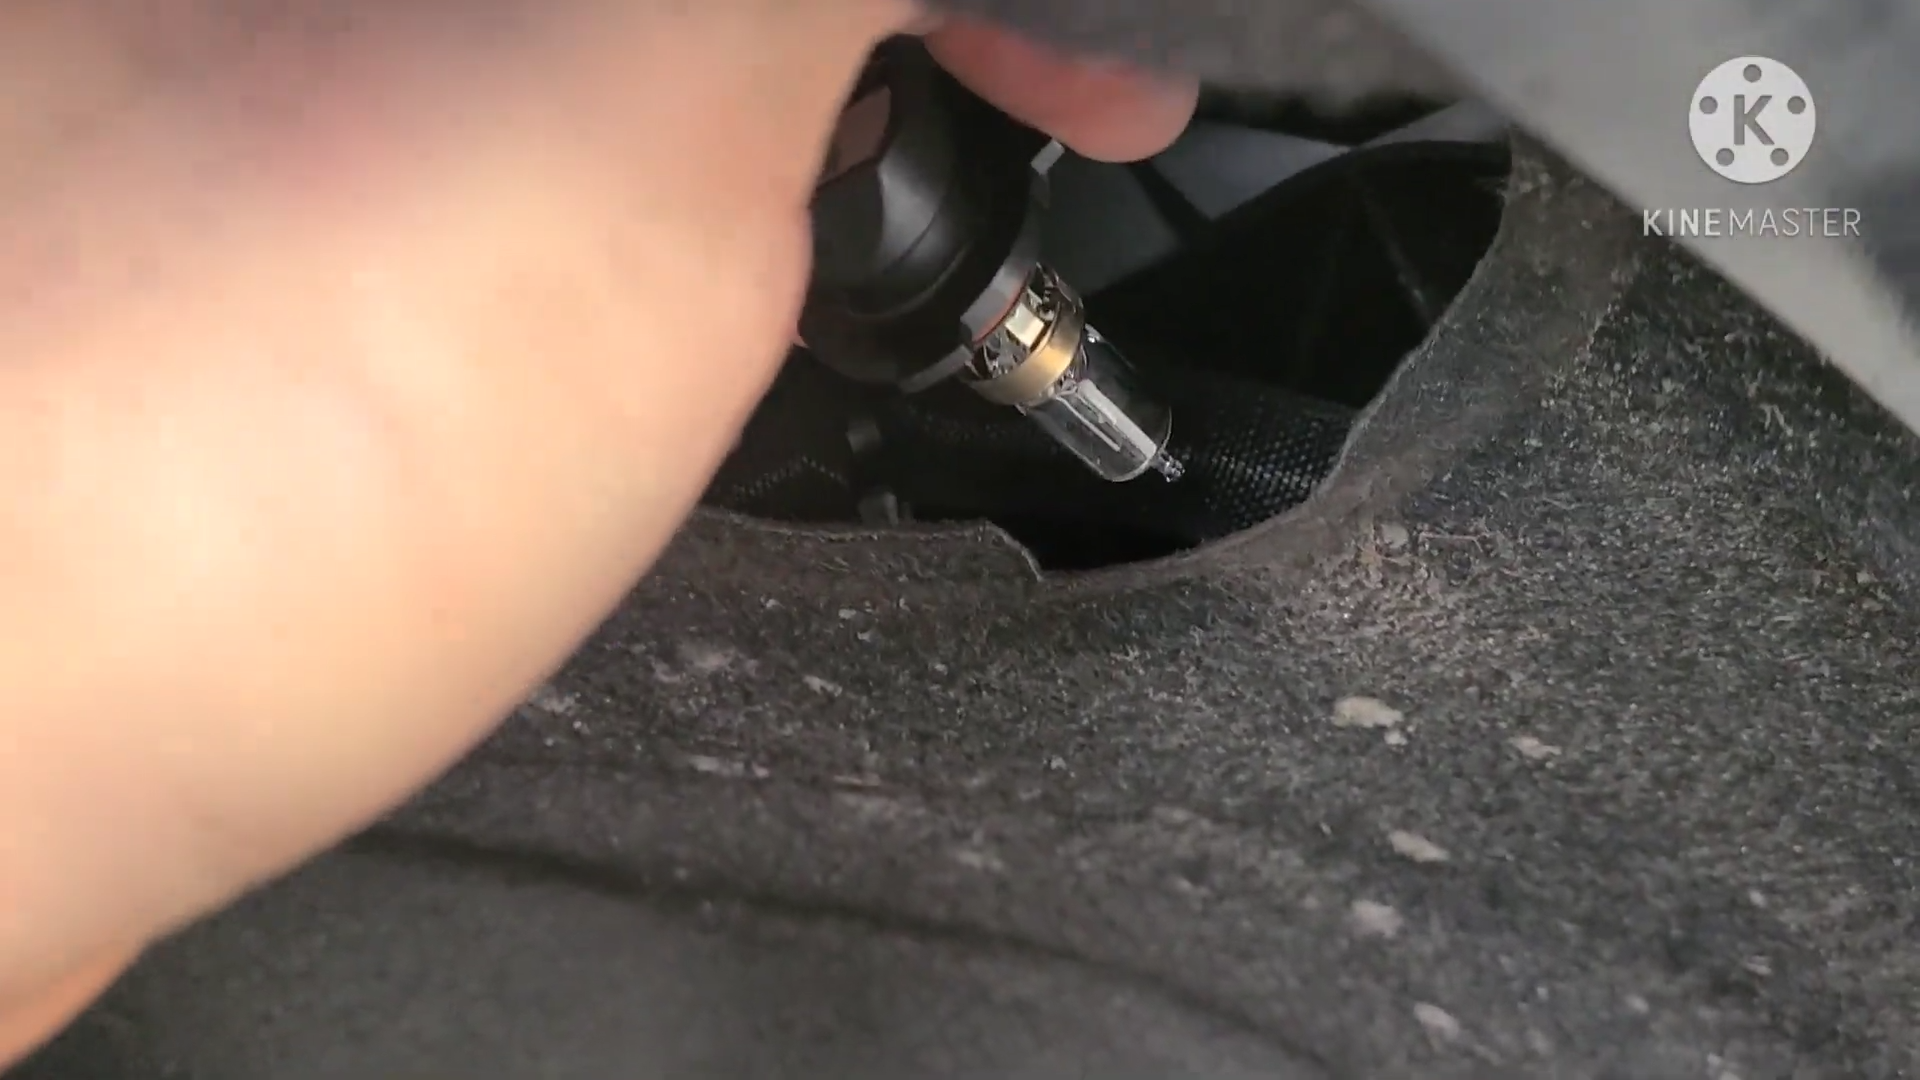
Step 2:Rotate the dust cover counterclockwise and remove it to gain access to the headlight bulb.
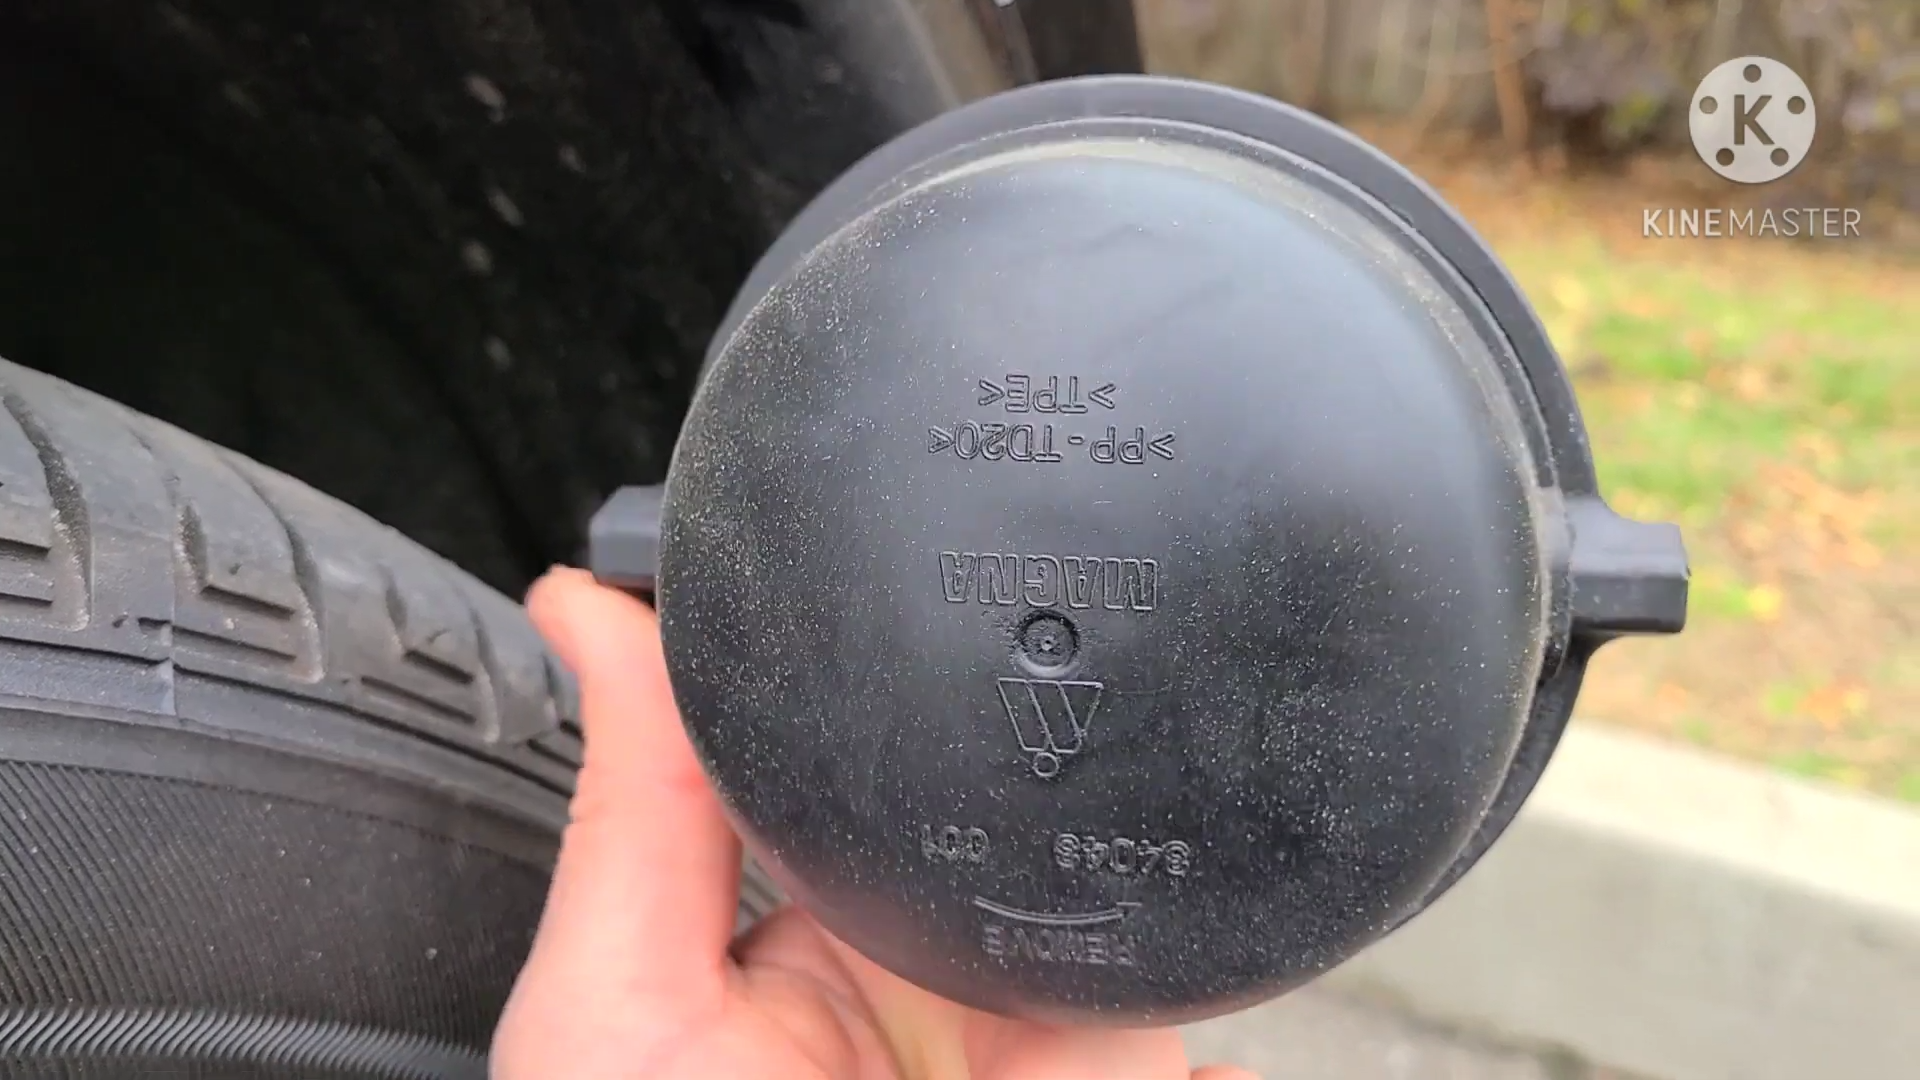
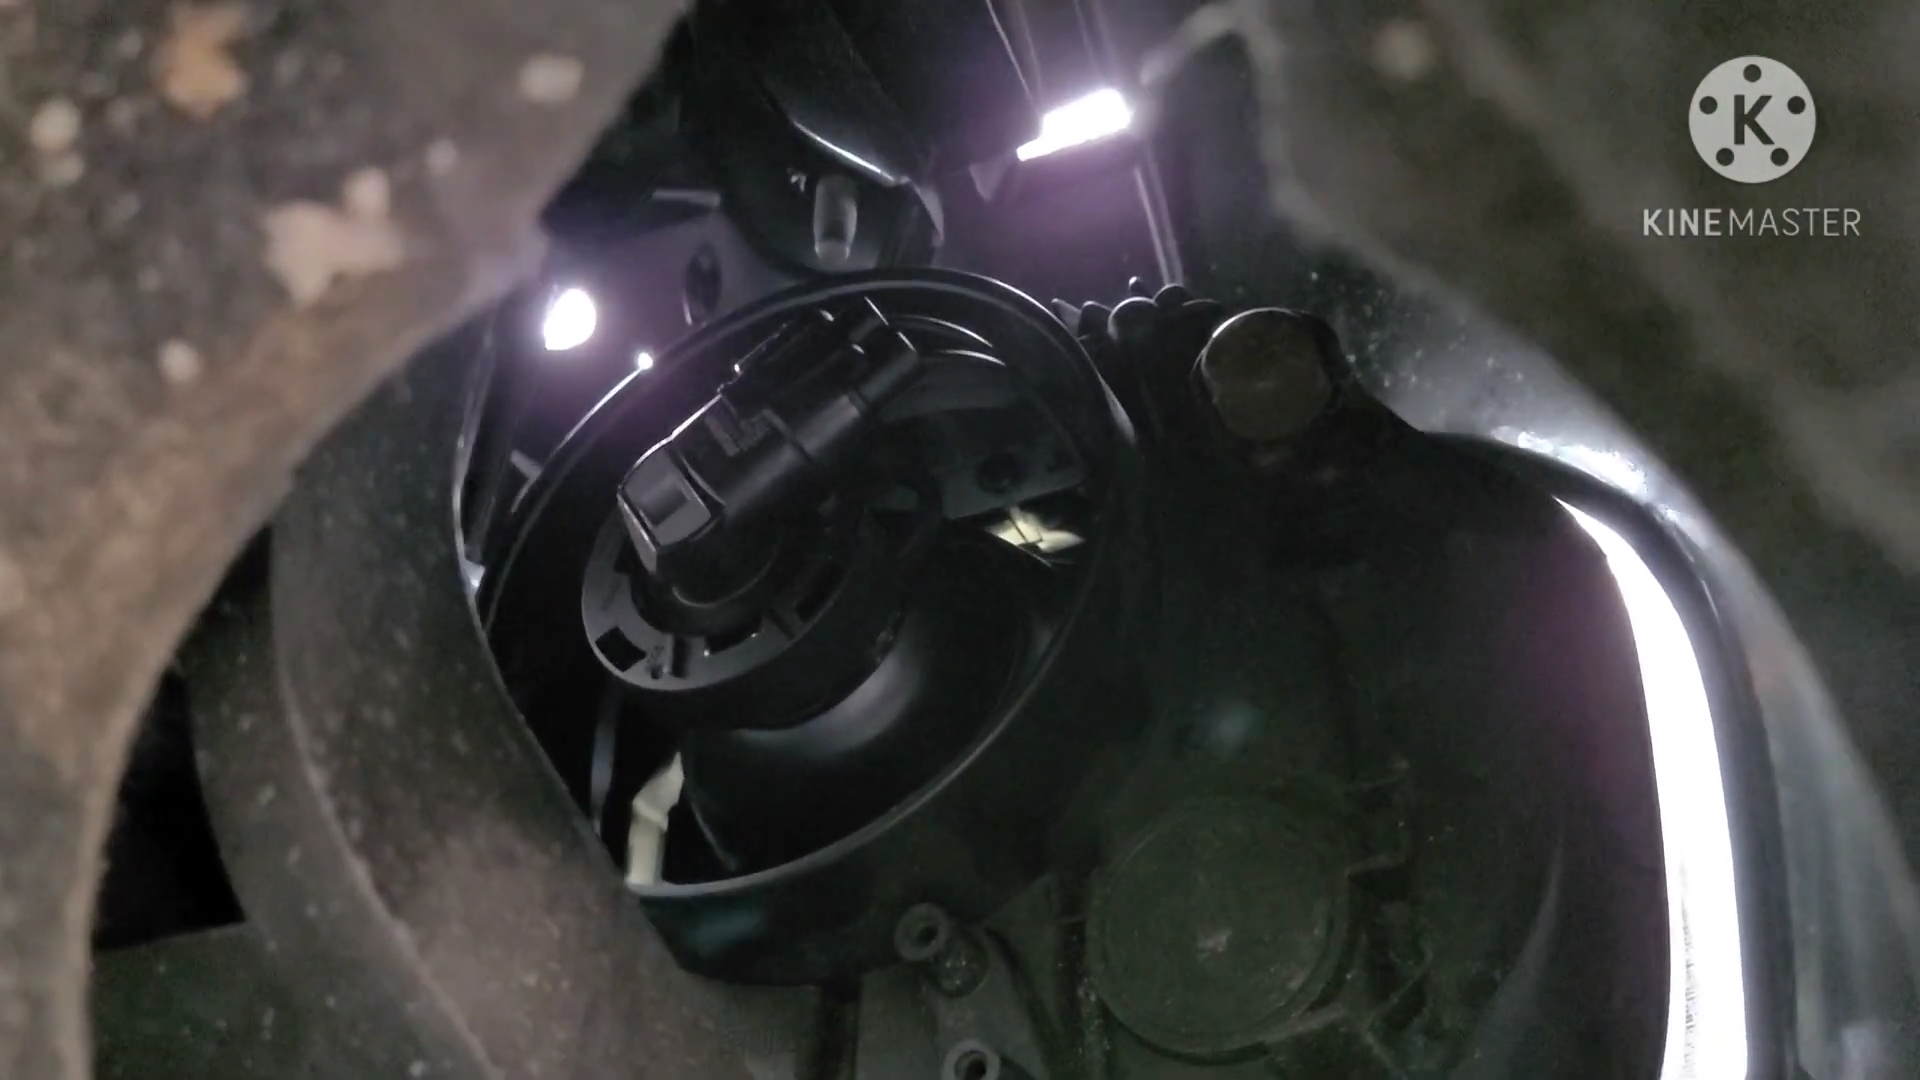
Step 3:Once the bulb is visible, rotate the factory halogen bulb counterclockwise and unplug it from the vehicle’s wiring harness to remove it.
Step 4:Align the tabs on the new LED bulb with the socket slots, then insert the bulb into the housing. Once seated properly, connect the LED kit to the factory plug.
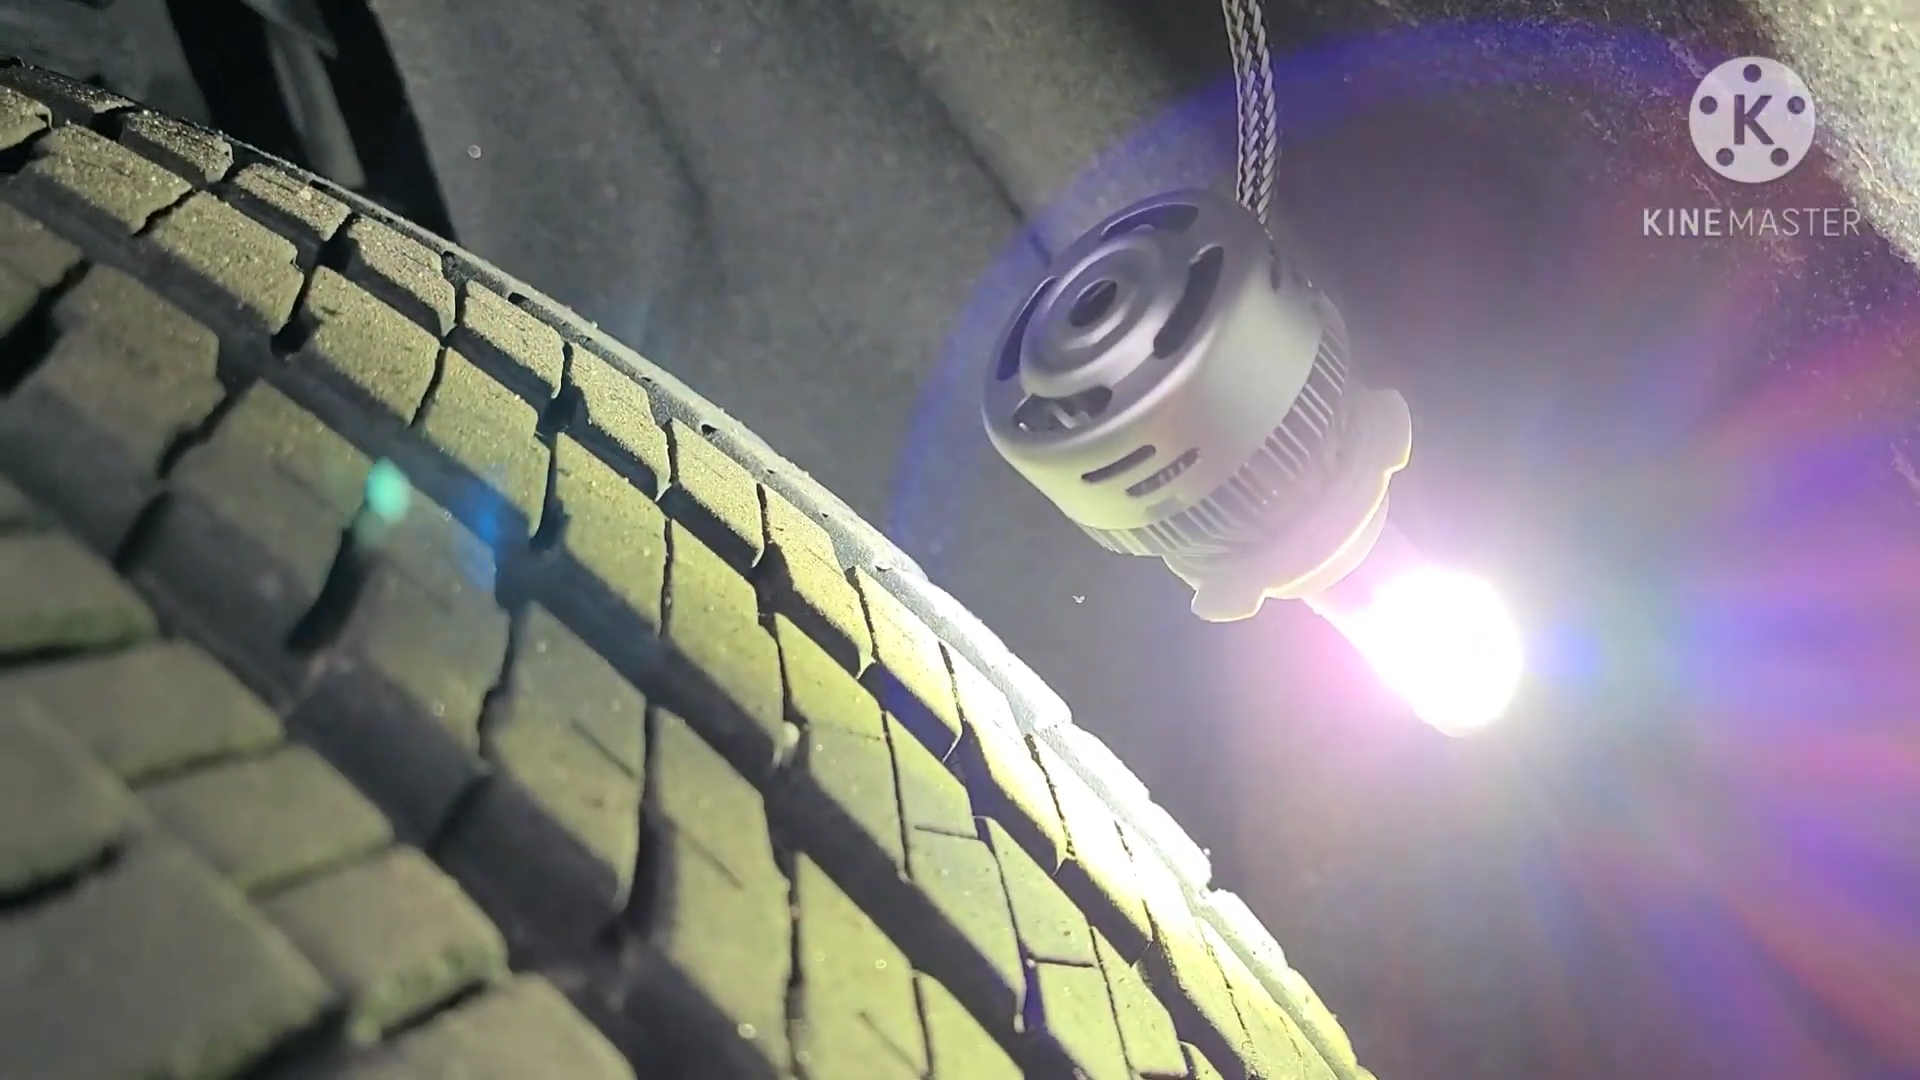
Step 5:Test the new LED bulb before reassembling everything. If the bulb doesn’t turn on, simply flip the black plug around and reconnect it, then test again.
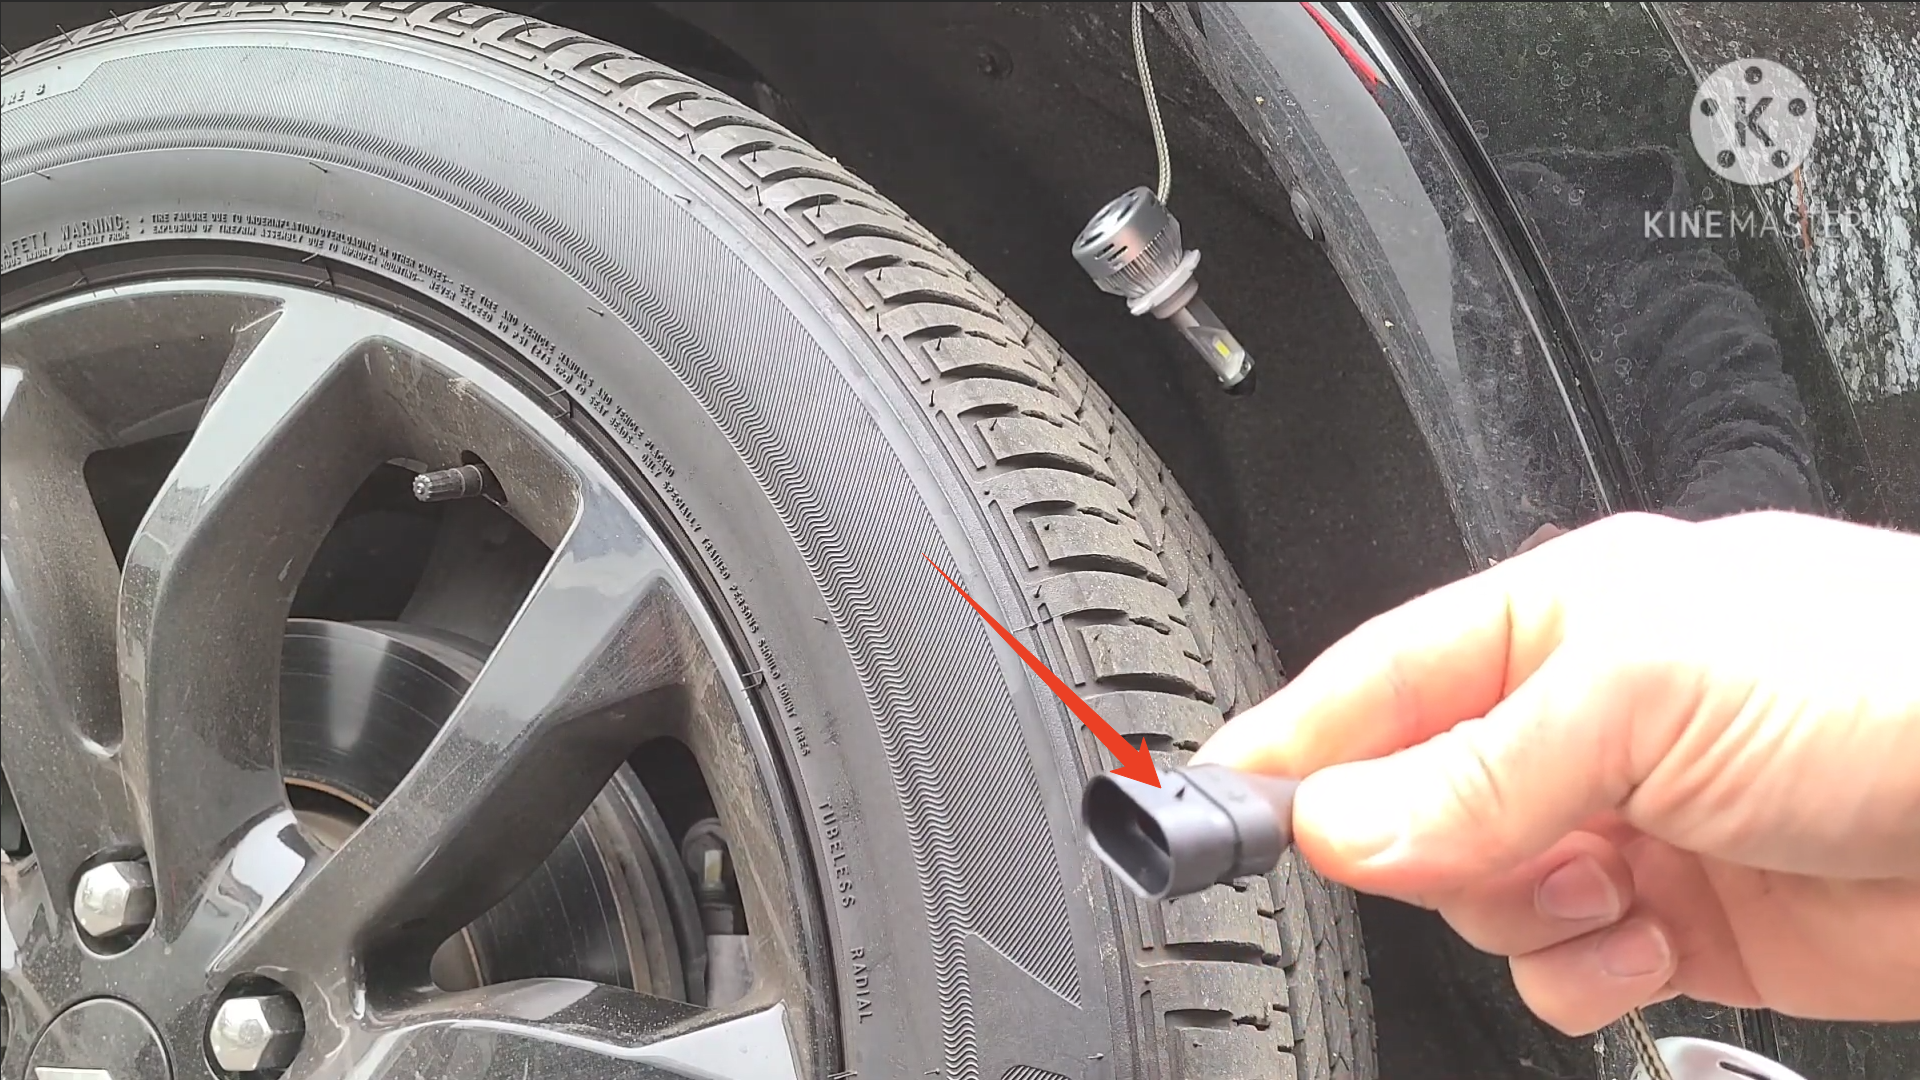
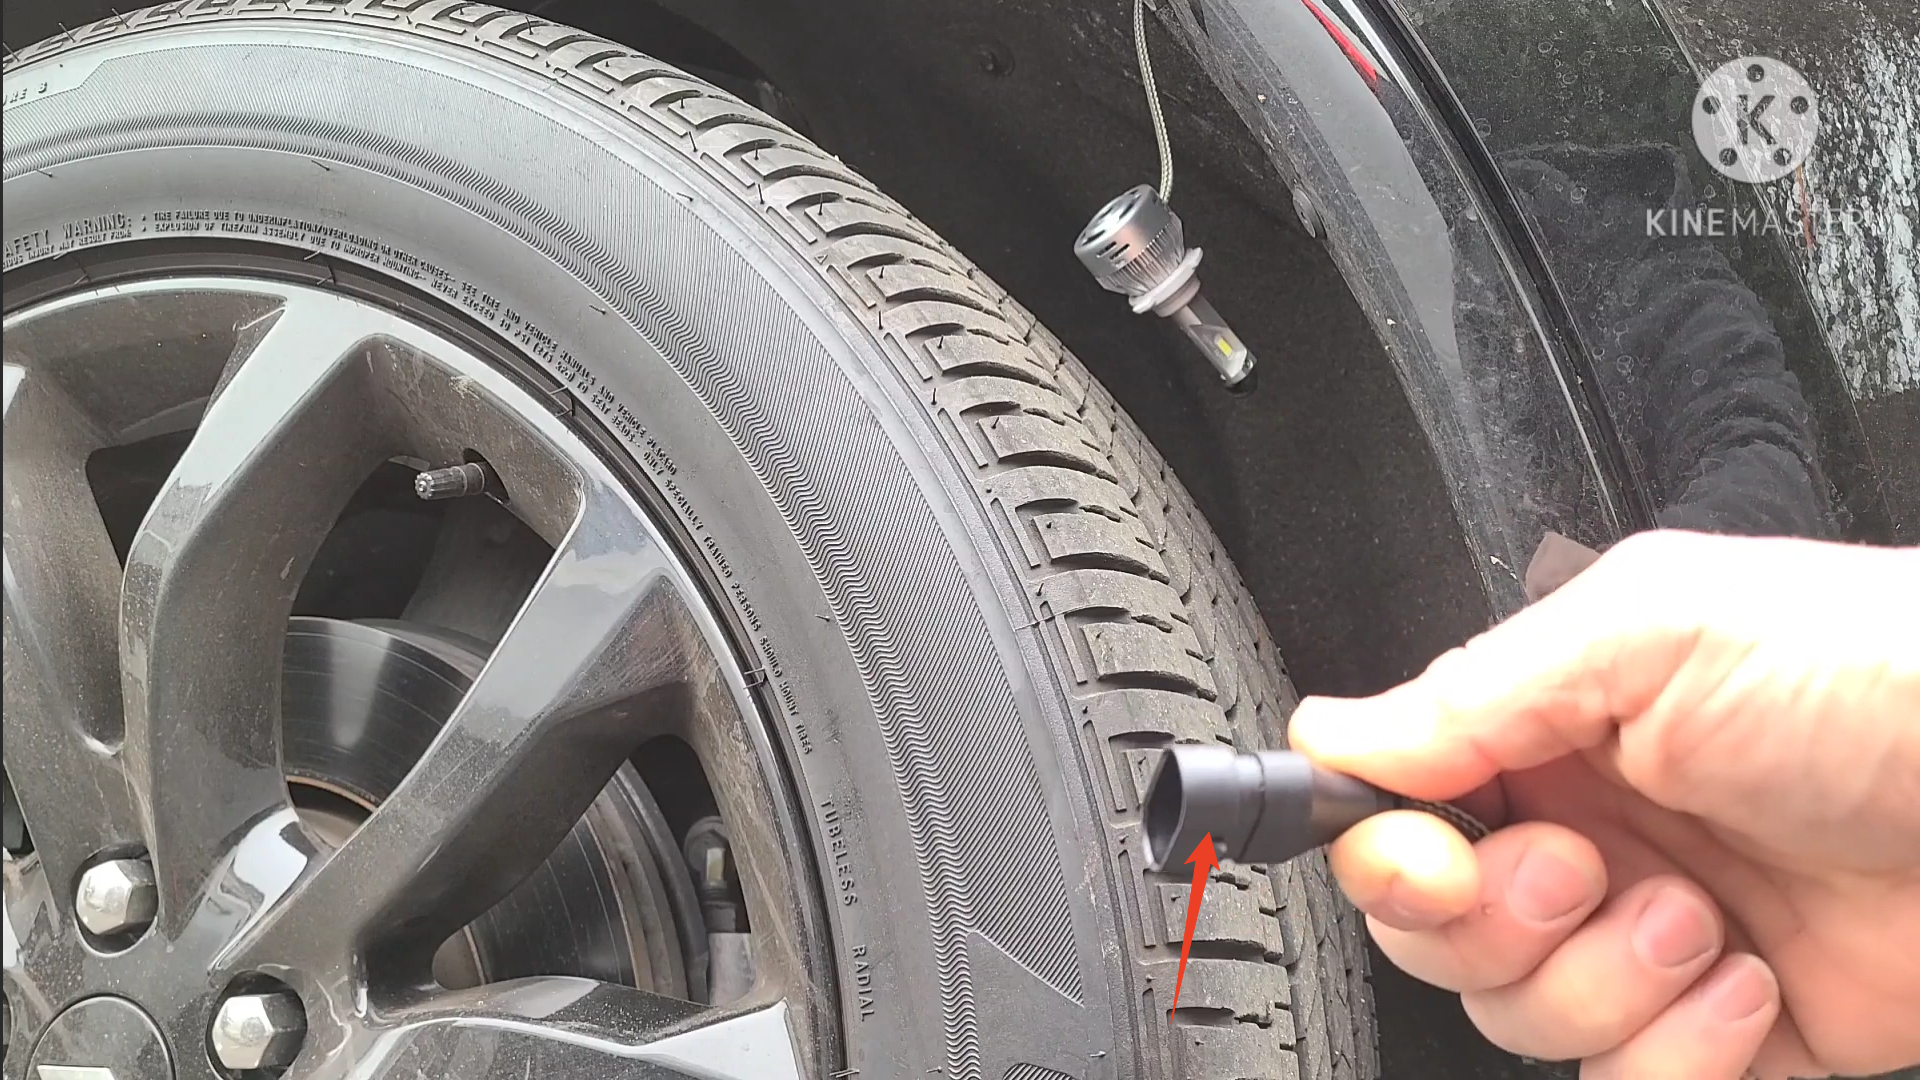
Image credit: All screenshots above are from [Dan Villa] (YouTube), used for reference.
2016-2020 Dodge Durango Headlight Bulb Replacement Video Tutorial
Video embedded from the YouTube channel “[Dan Villa].” All rights belong to the original creator.
Final Thoughts
With the brightest LED headlight bulbs, you’ll enjoy a brighter, clearer beam pattern, improved nighttime visibility, and a true plug-and-play installation.
If you run into any issues during installation, feel free to leave a comment under this post—we’ll be happy to help you replace the LED headlight bulbs yourself.
Upgrade your 2016-2020 Dodge Durango headlight bulbs today and experience the difference!
