Upgrading your vehicle’s headlights to LED can significantly improve visibility and give your car a modern look. In this guide, we’ll walk through the installation process using the Lastfit 9006 LED bulbs—a popular option compatible with vehicles using 9006 or HB4 halogen bulbs.
Whether you're new to DIY car modifications or have some experience, this tutorial will help you install your new LED headlights safely and correctly.
What You’ll Need:
- Lastfit 9006 LED headlight bulbs (or equivalent)
- Screwdriver set
- Silicone grease (optional but helpful)
- Clean cloth or gloves (to avoid touching the bulb surface)
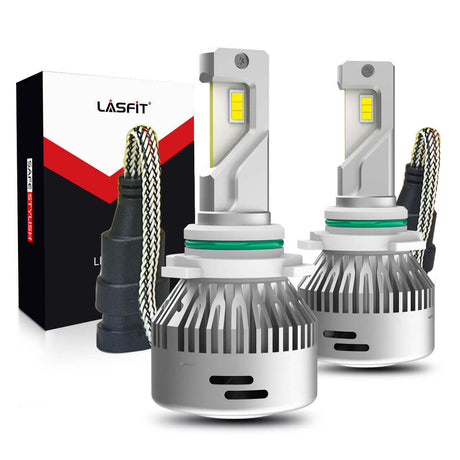
Step 1: Unboxing and Overview

The Lasfit 9006 LED kit includes:
- Two LED bulbs
- User manual
- Mounting accessories

Each bulb features an aluminum heat sink, an integrated cooling fan, and adjustable LED chips that help replicate the filament position of a traditional halogen bulb—key for achieving the correct beam pattern.
Step 2: Preliminary Test (Optional but Recommended)
Before installing, it’s a good idea to test the bulbs:
- Connect the bulb to a 9–16V power source (e.g., a spare battery).
- Ensure the LED lights up and the fan runs quietly.
- Confirm both bulbs work properly.

Step 3: Remove the Old Halogen Bulbs
- Disconnect the power – Ensure your vehicle is off and the headlight switch is in the “off” position.
- Access the headlight assembly – Open the hood and locate the back of the headlight housing.
- Remove the connector – Gently unplug the wiring harness from the bulb.
- Remove the old bulb – Twist the bulb socket counterclockwise and carefully pull it out. Avoid touching the glass of halogen bulbs to prevent oils from damaging them.


Step 4: Install the LED Bulbs
- Insert the LED bulb – Align the tabs of the LED bulb with the slot in the headlight housing. The square edge should be at the top.
- Rotate clockwise to lock the bulb in place.
- Connect the power plug – Attach the vehicle’s connector to the LED bulb. You should hear a click when it’s secure.
- Test before reassembling – Turn on your headlights to make sure the new LED bulb functions correctly.
- Adjust the beam – Rotate the bulb within the housing until the LEDs are horizontal. This ensures the correct light distribution.


💡 Tip: Applying a small amount of silicone grease can make inserting and removing bulbs easier in the future.
Step 5: Repeat on the Other Side
Follow the same steps for the second bulb. Some vehicles may have obstructions like the battery—you may need to loosen or temporarily move it for better access.
Step 6: Final Adjustment and Beam Alignment
Once both bulbs are installed, turn on your headlights and check the beam pattern against a wall or flat surface. Make minor rotational adjustments if necessary to avoid blinding other drivers and maximize road illumination. Compared with traditional halogen bulbs, LED headlights generally produce a sharper and wider beam. While halogen lights may appear more yellowish and often scatter light unevenly, LEDs provide a crisp white output with clearer cut-off lines. This means better visibility of road signs, lane markings, and obstacles, while also reducing glare for oncoming drivers.


Step 7: Night Test Drive
After installation, take your car for a test drive in the dark. Evaluate the beam reach, spread, and overall performance. Many users report significantly brighter and wider illumination with LED upgrades compared to halogen bulbs.

Conclusion
Installing 9006 LED headlight bulbs is a straightforward upgrade that can greatly enhance nighttime driving safety and visibility. The Lasfit LEDs offer a reliable, fan-cooled design with easy installation—an excellent choice for DIY enthusiasts.
If you found this guide helpful, feel free to share it with others looking to upgrade their headlights. For more automotive DIY tips and product reviews, don’t forget to subscribe to our blog!